My first module
Now that you have dipped your toes into modular thinking, it is time to create your first module using ResearchEquals!
We assume you created your account. If you haven’t, do so now in order to follow along.
Create a draft
Anywhere on ResearchEquals, you will find the Draft button at the top-right corner. This way it is always at the ready for when you are ready to create a draft.
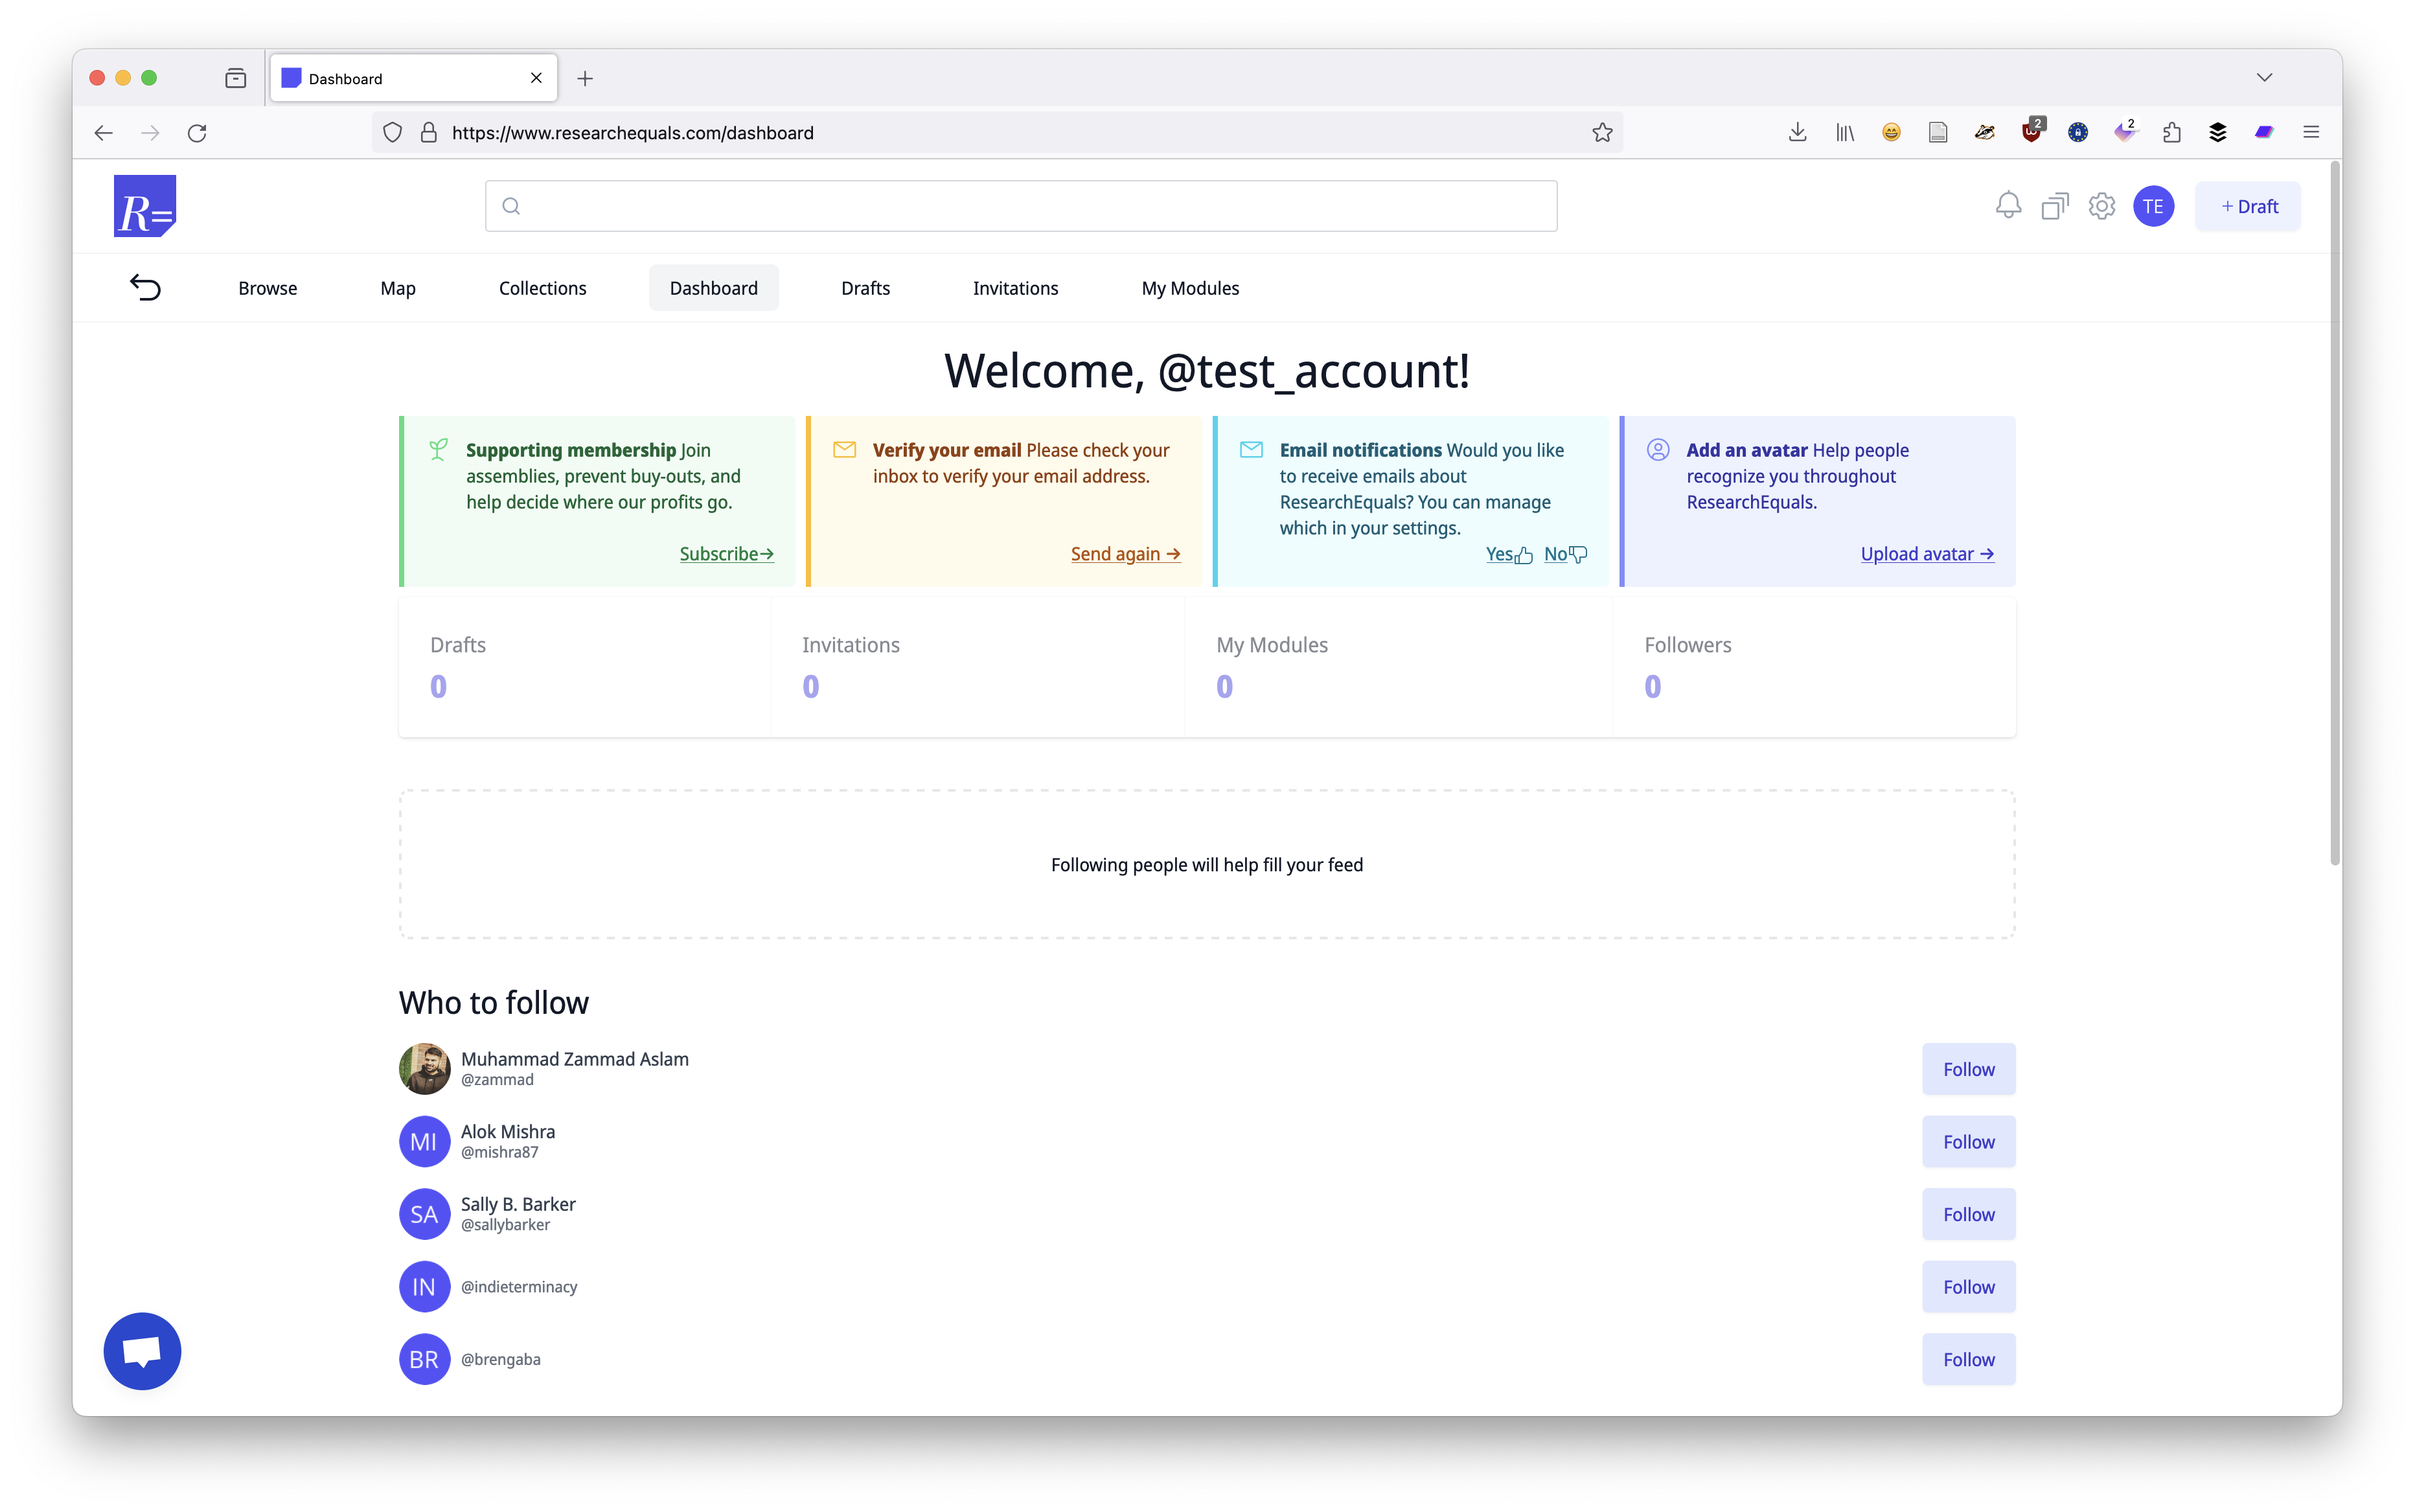
When you click on it, you will see the first step to creating a module.
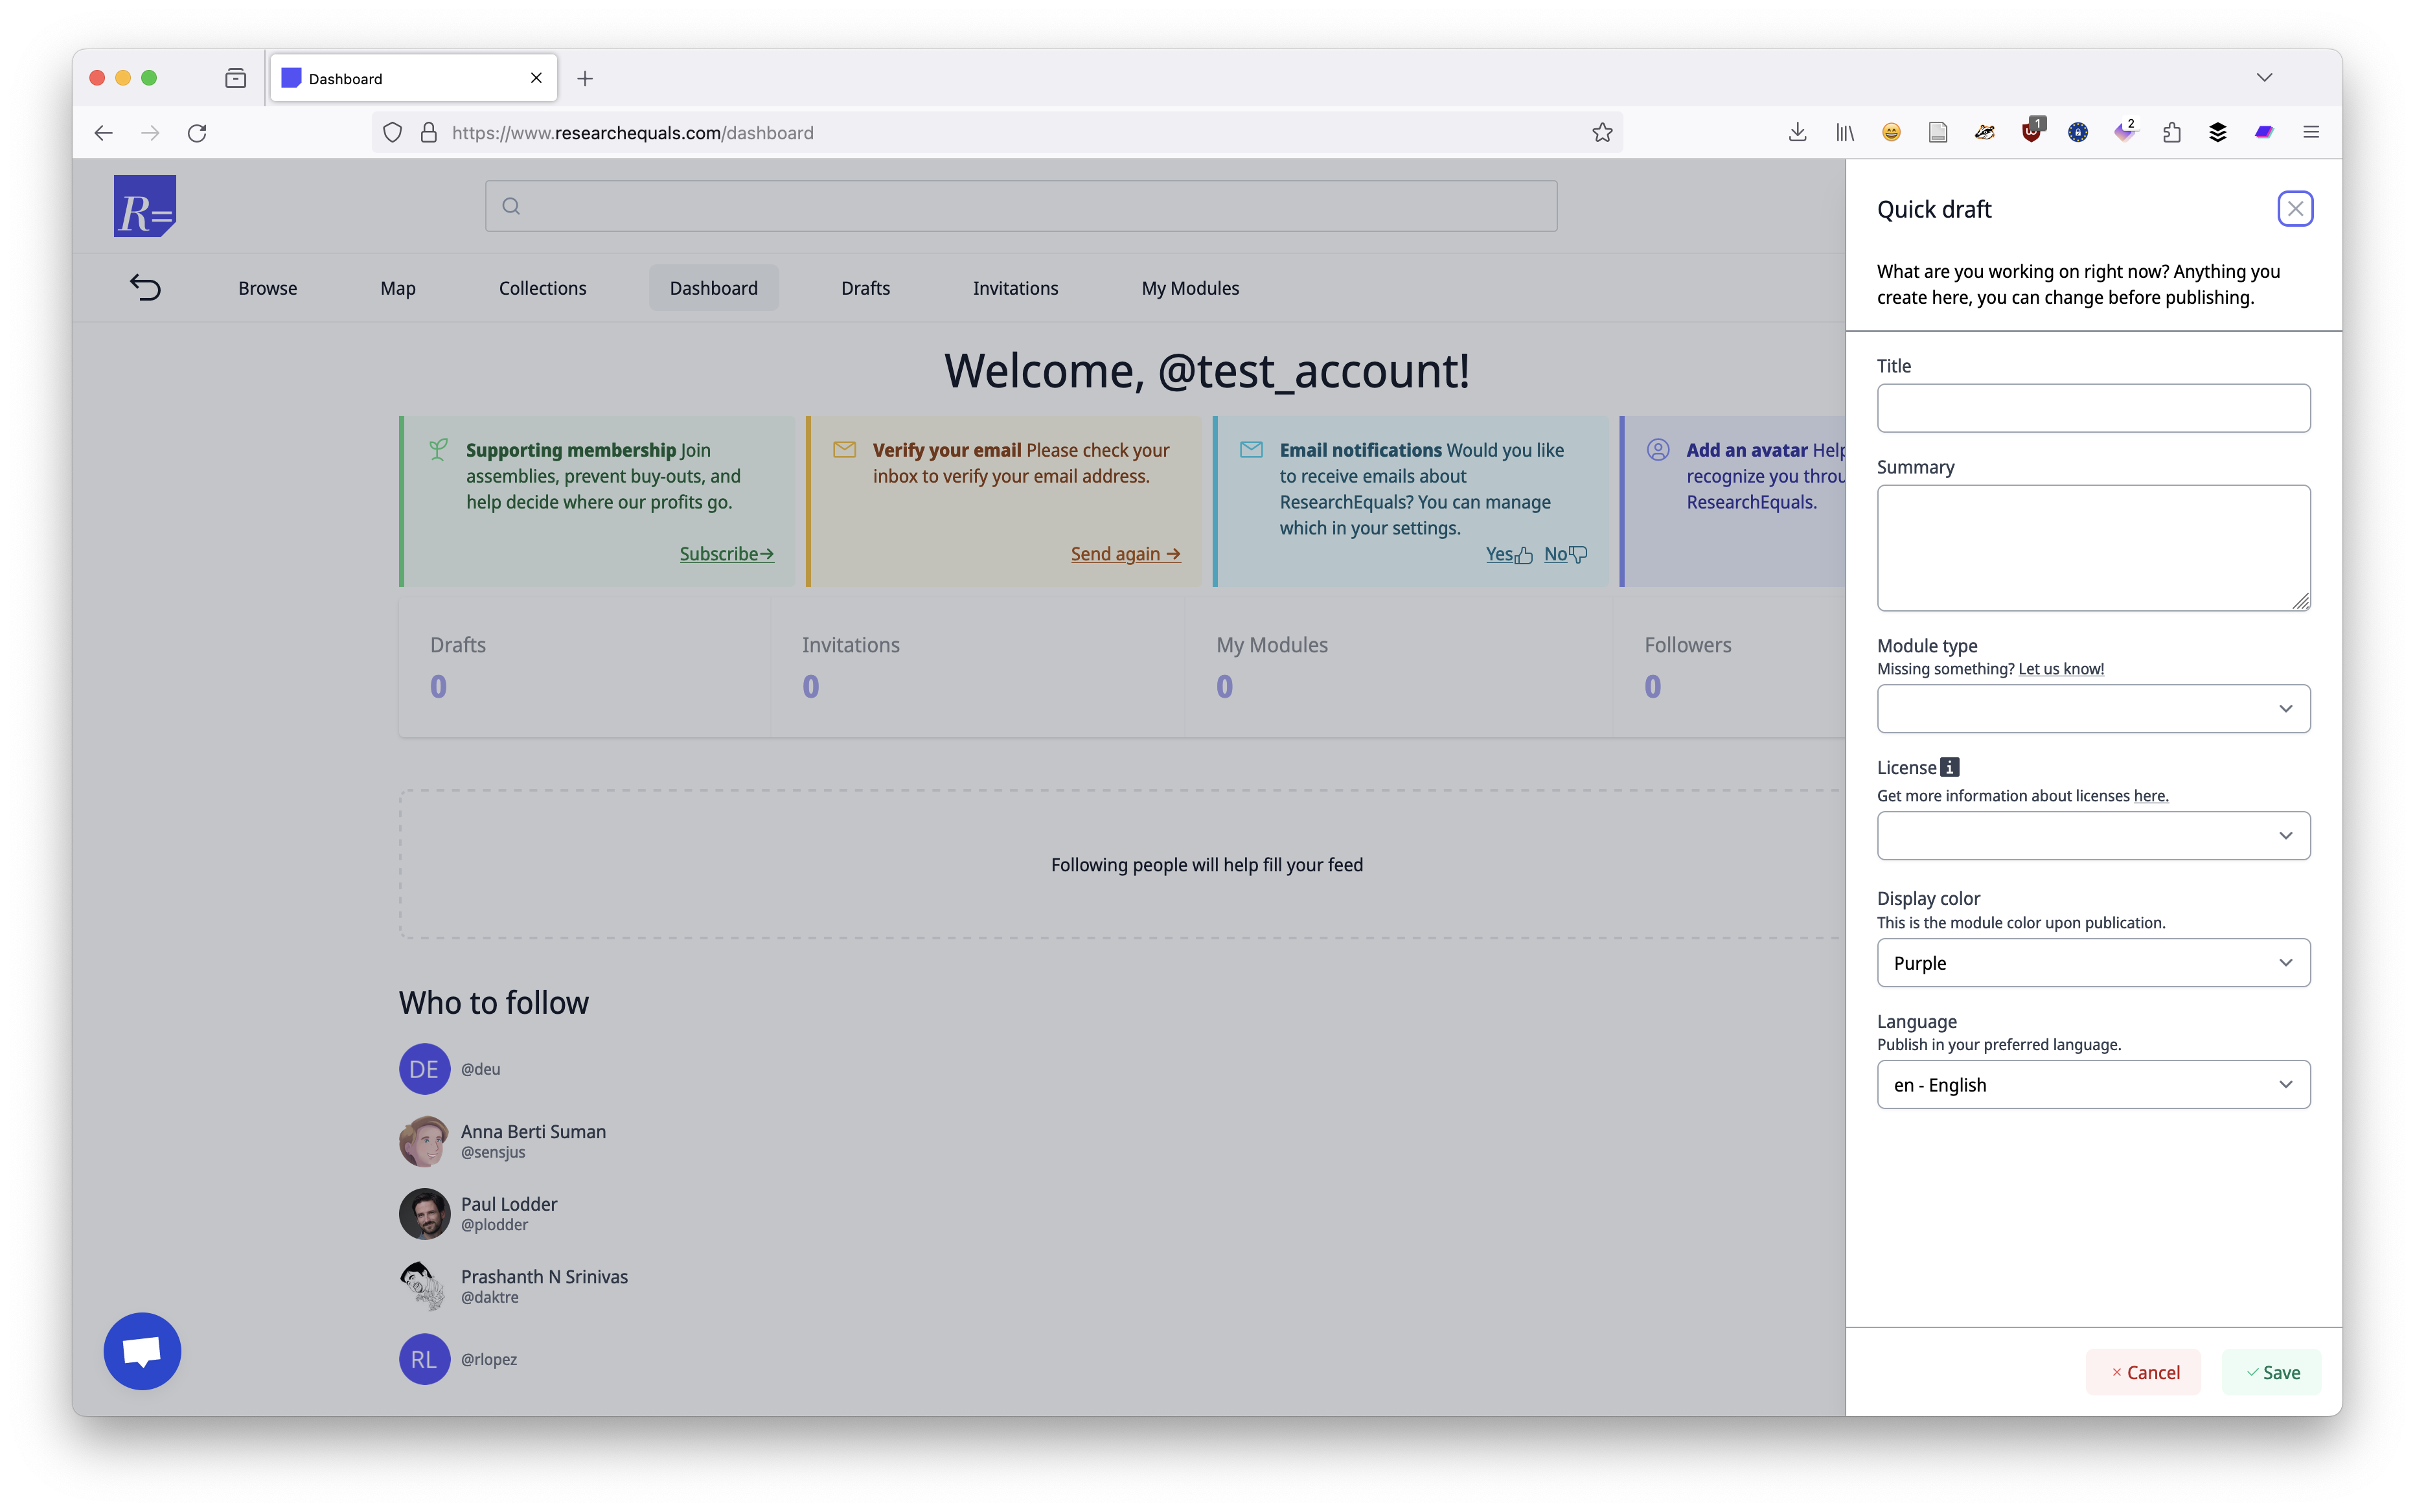
Here you will have to enter some title for your module, to help indicate what it is about. This can be compared to an article title, but you have to make it more specific to your module. For example, if you are sharing your research question, you might call it ““.
The summary is the abstract for your module. There is no styleguide, and you can approach it how it’s relevant to you. Given that it is a draft, you can also leave it empty for now.
The module type helps categorize what kind of module you are sharing. There is no limit to what modules can be, but to get you started, ResearchEquals provides you with some preselected options.
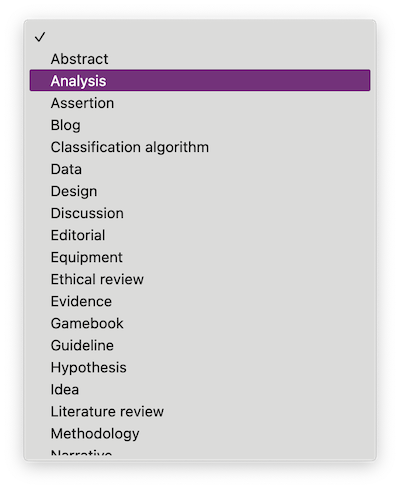
These options are the steps we discussed in the previous exercise - it may be worth to cross-reference your steps and see how they match up. These preselected options are suggestions that we encountered before, so if you are missing anything, contribute by letting us know.
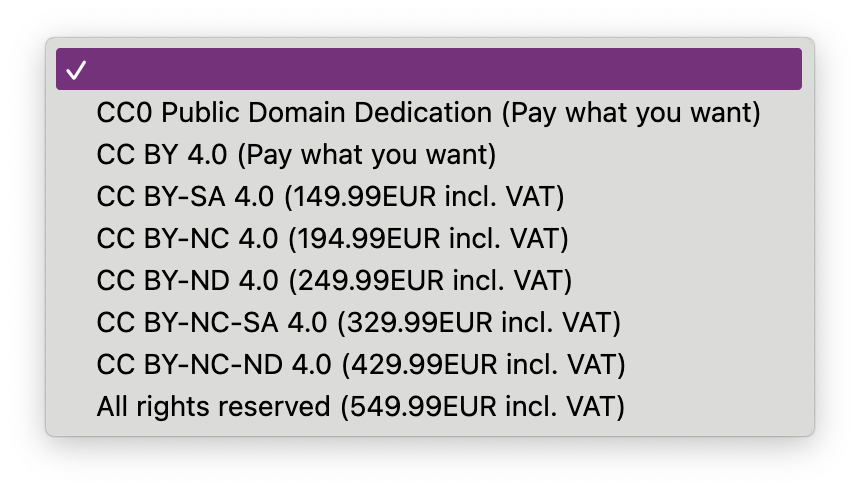
Next, you need to select a license for your module. For now, select either “CC0 Public Domain Dedication” or “CC BY 4.0” that are provided on a “pay what you want” basis.
The color of your module is arbitrary, and is used for displaying your content later on. More important is to select the language you are publishing in.
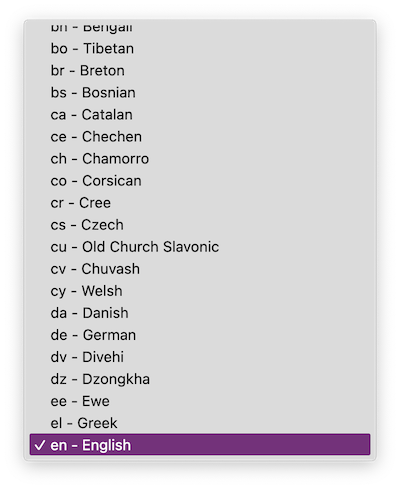
ResearchEquals facilitates you in publishing, instead of telling you what you can publish. This is also why you can publish in any language of your choosing.
Prepare your draft
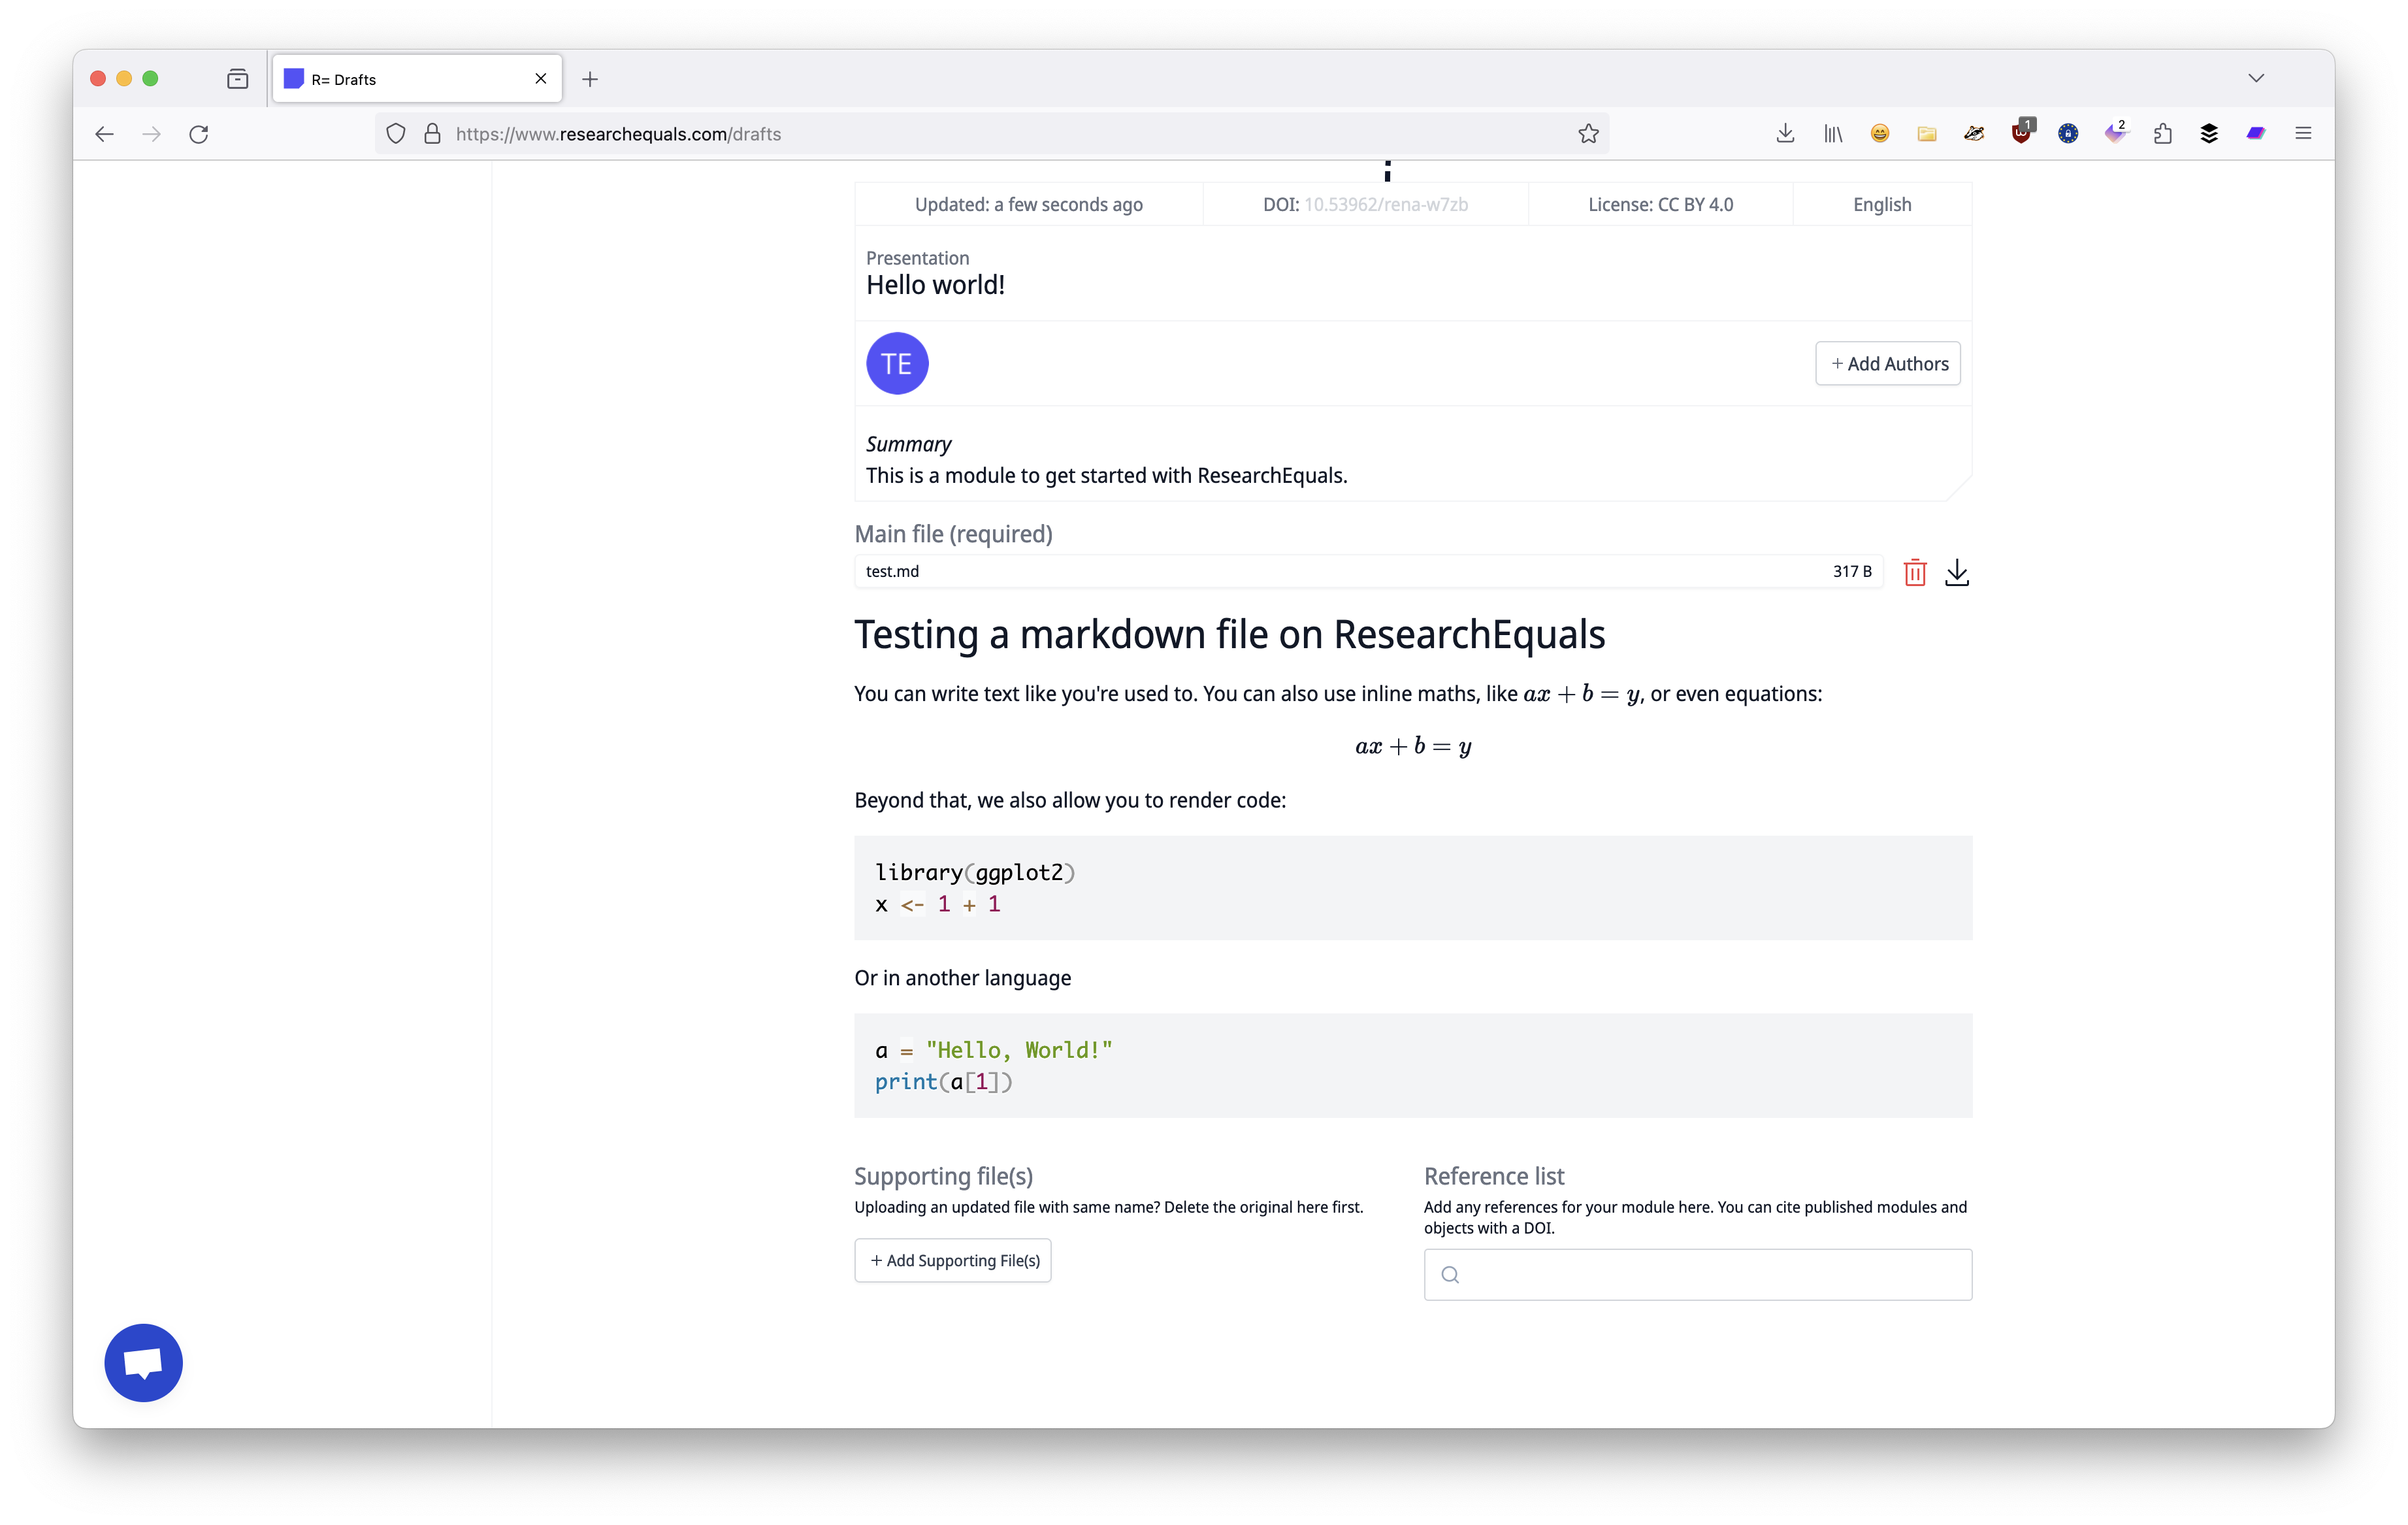
Once you created your first draft, you will be presented with a bunch of new information. Let’s familiarize you with the most important sections as highlighted.
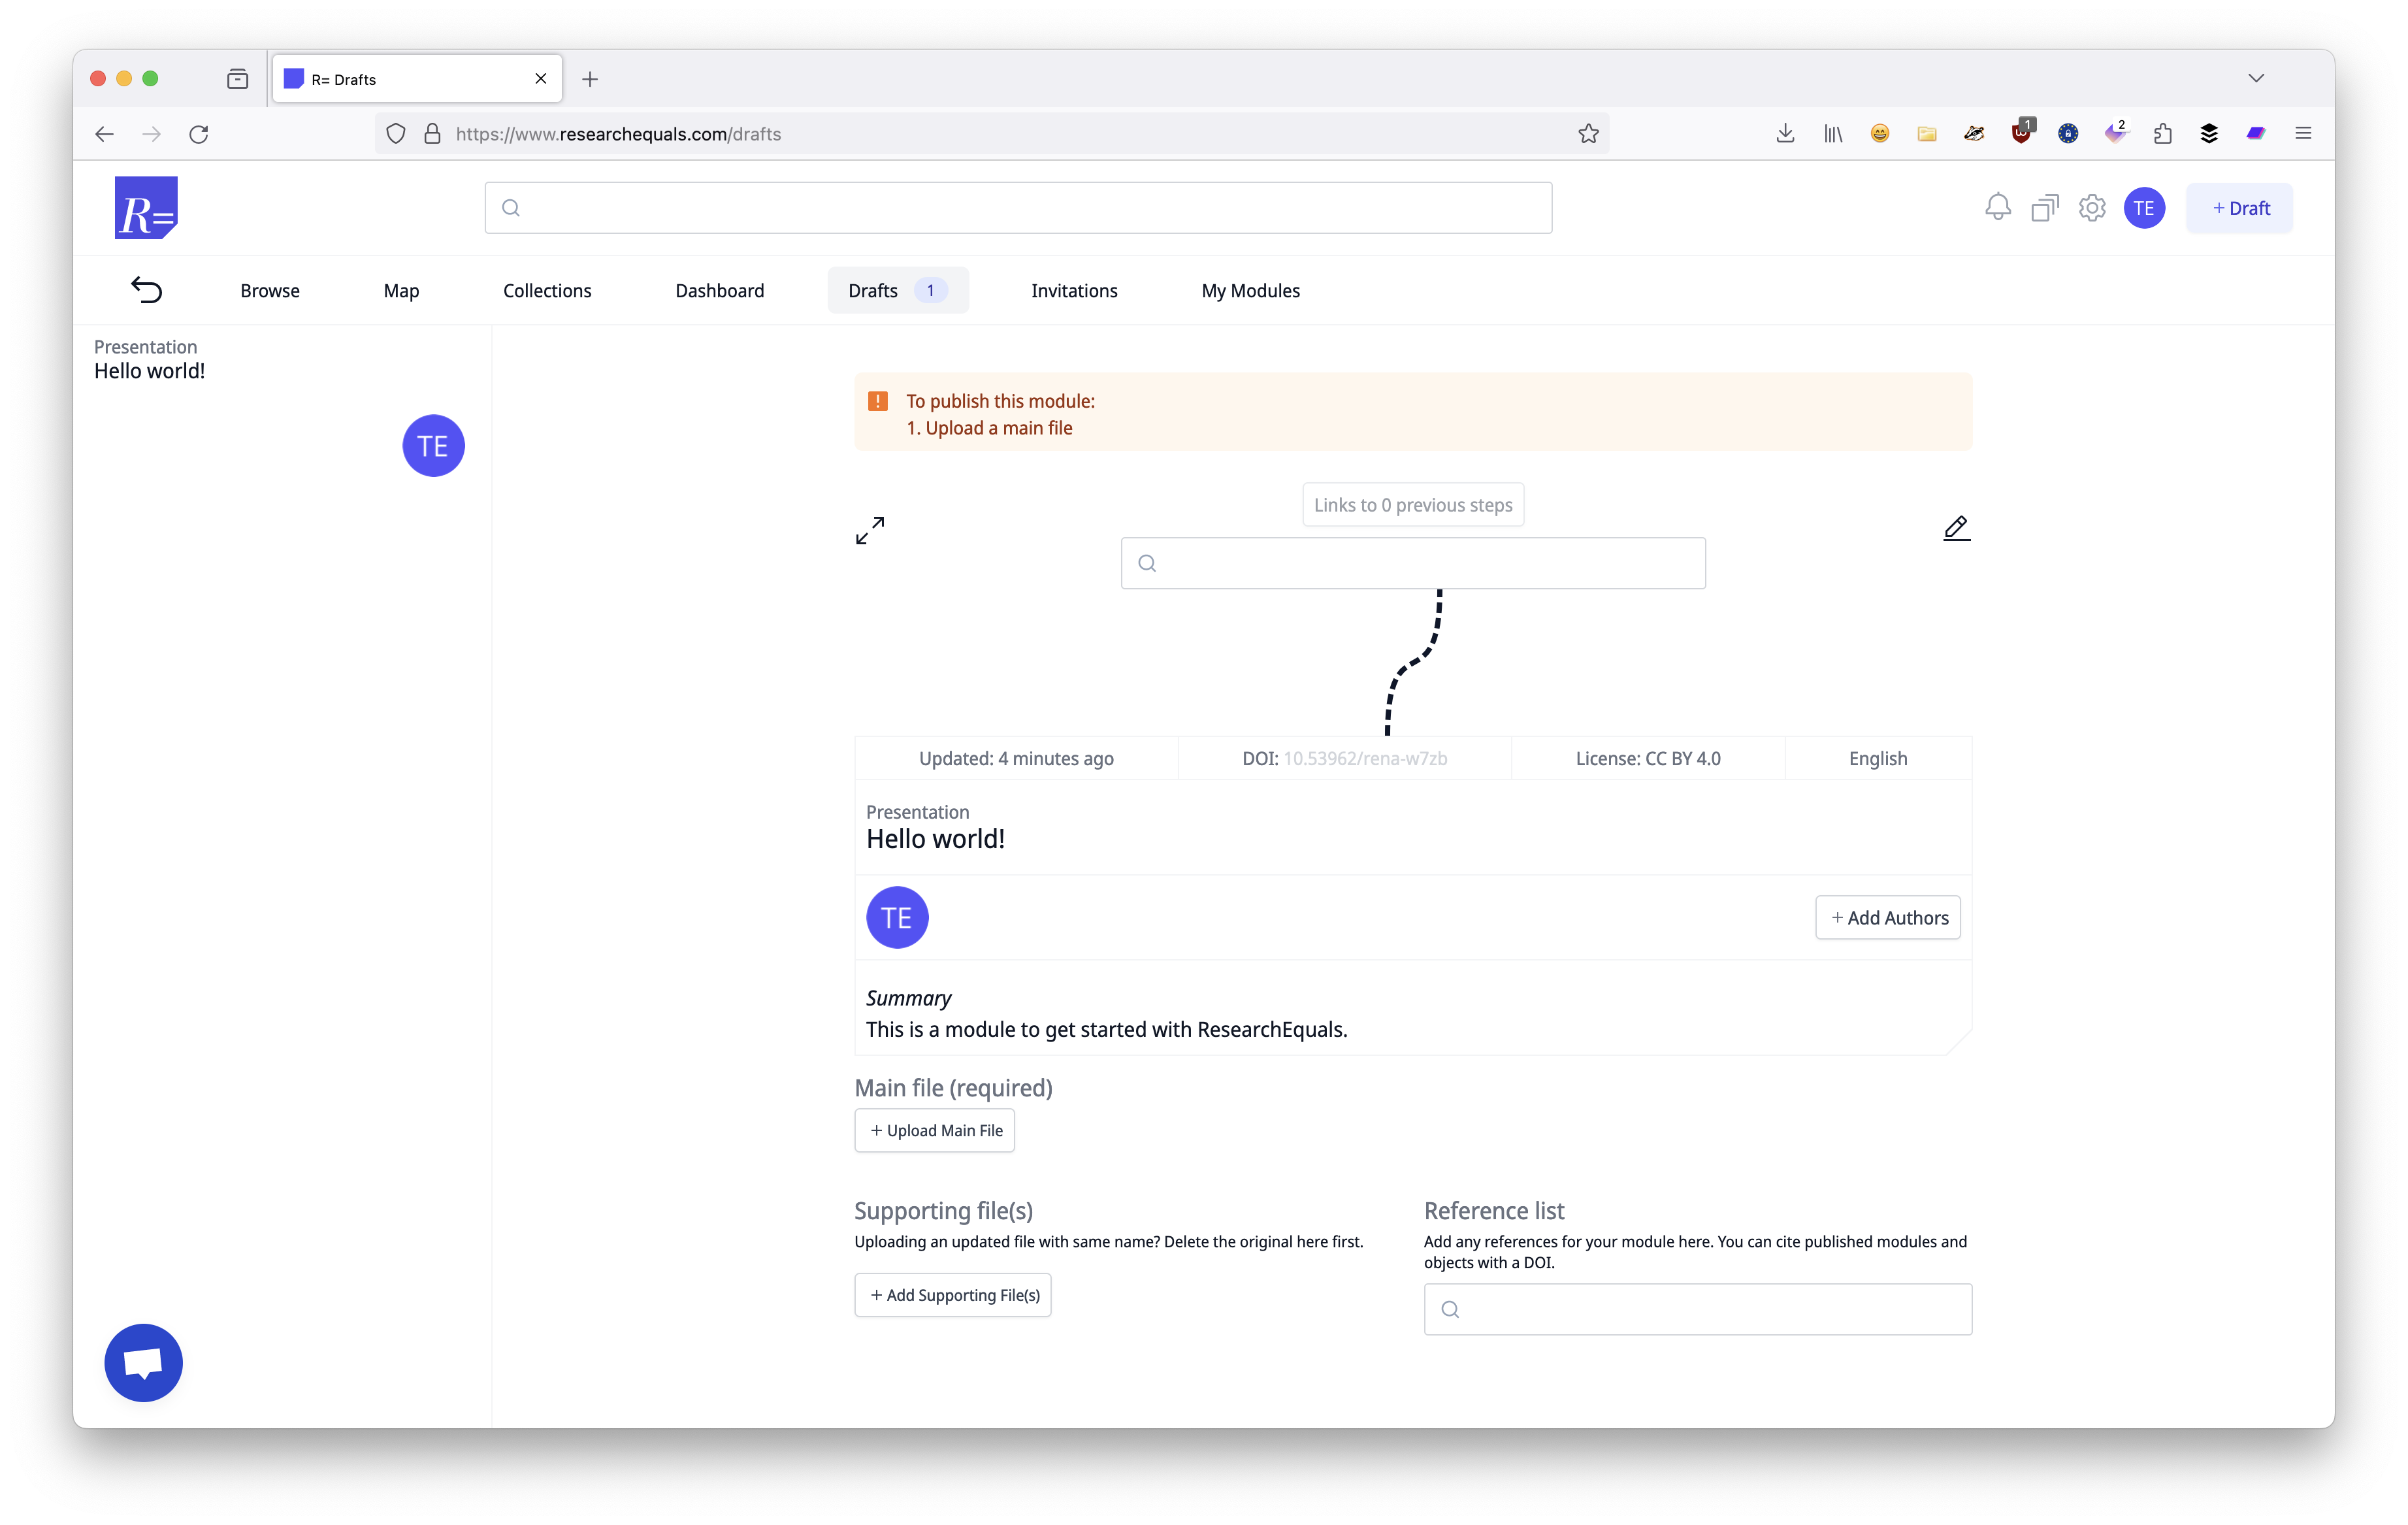
First off, at the top of your draft you will always see what needs to happen before it can be published. In this case, you need to finish adding a main file to your draft. When this is ready it’ll turn green.

The main file is what you want people to see when they come look at your published module. With an article, it is your manuscript - in a module it can be a lot of different things. This is the most important file you are publishing and usually relates to the module type you are publishing. Data module? Dataset. Analysis module? Maybe an R or Python script. Figure module? The actual figure.
Moving to the next section of our draft, you can actually upload this one main file.
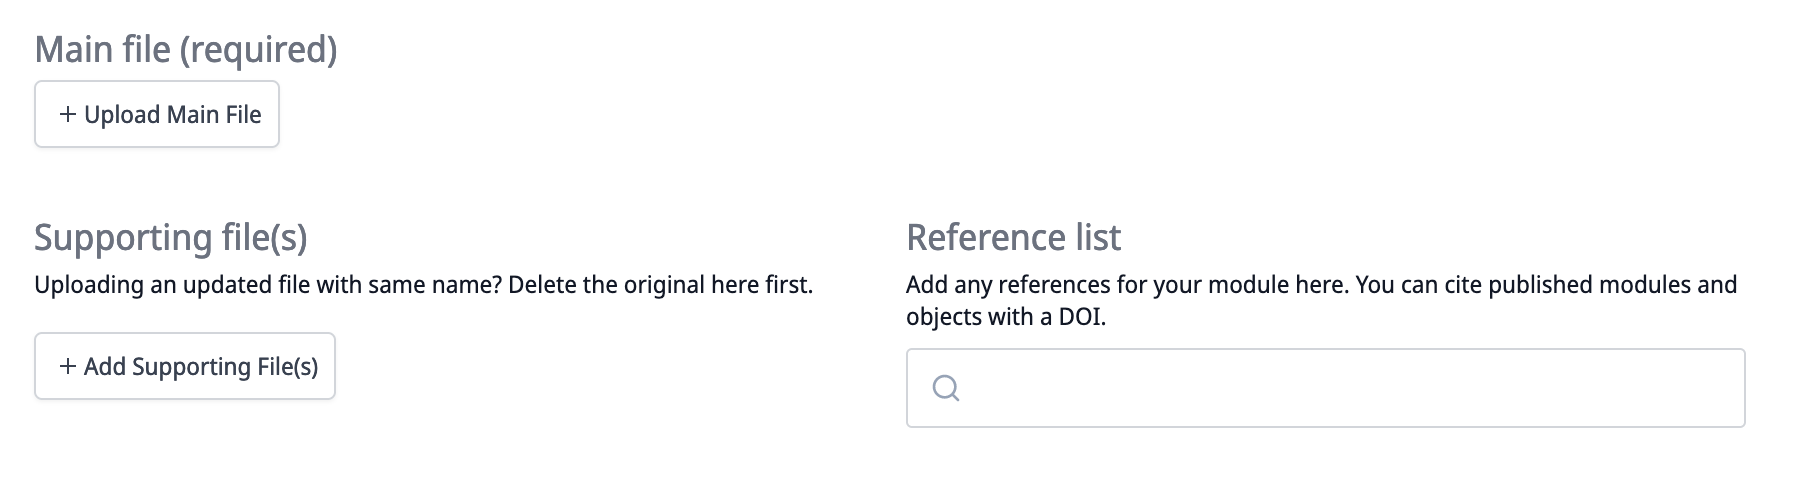
On the left hand side, we get the option to upload a main file and supporting files. The main file we just discussed - the supporting files are additional files that you want to publish to help support the main file and the reader.
On the right hand side, you can find and add structured references to other scholarly publications. These references are based off of DOIs only (at the moment) and are indexed as well. This means that your citations here count towards the citation count of those publications.
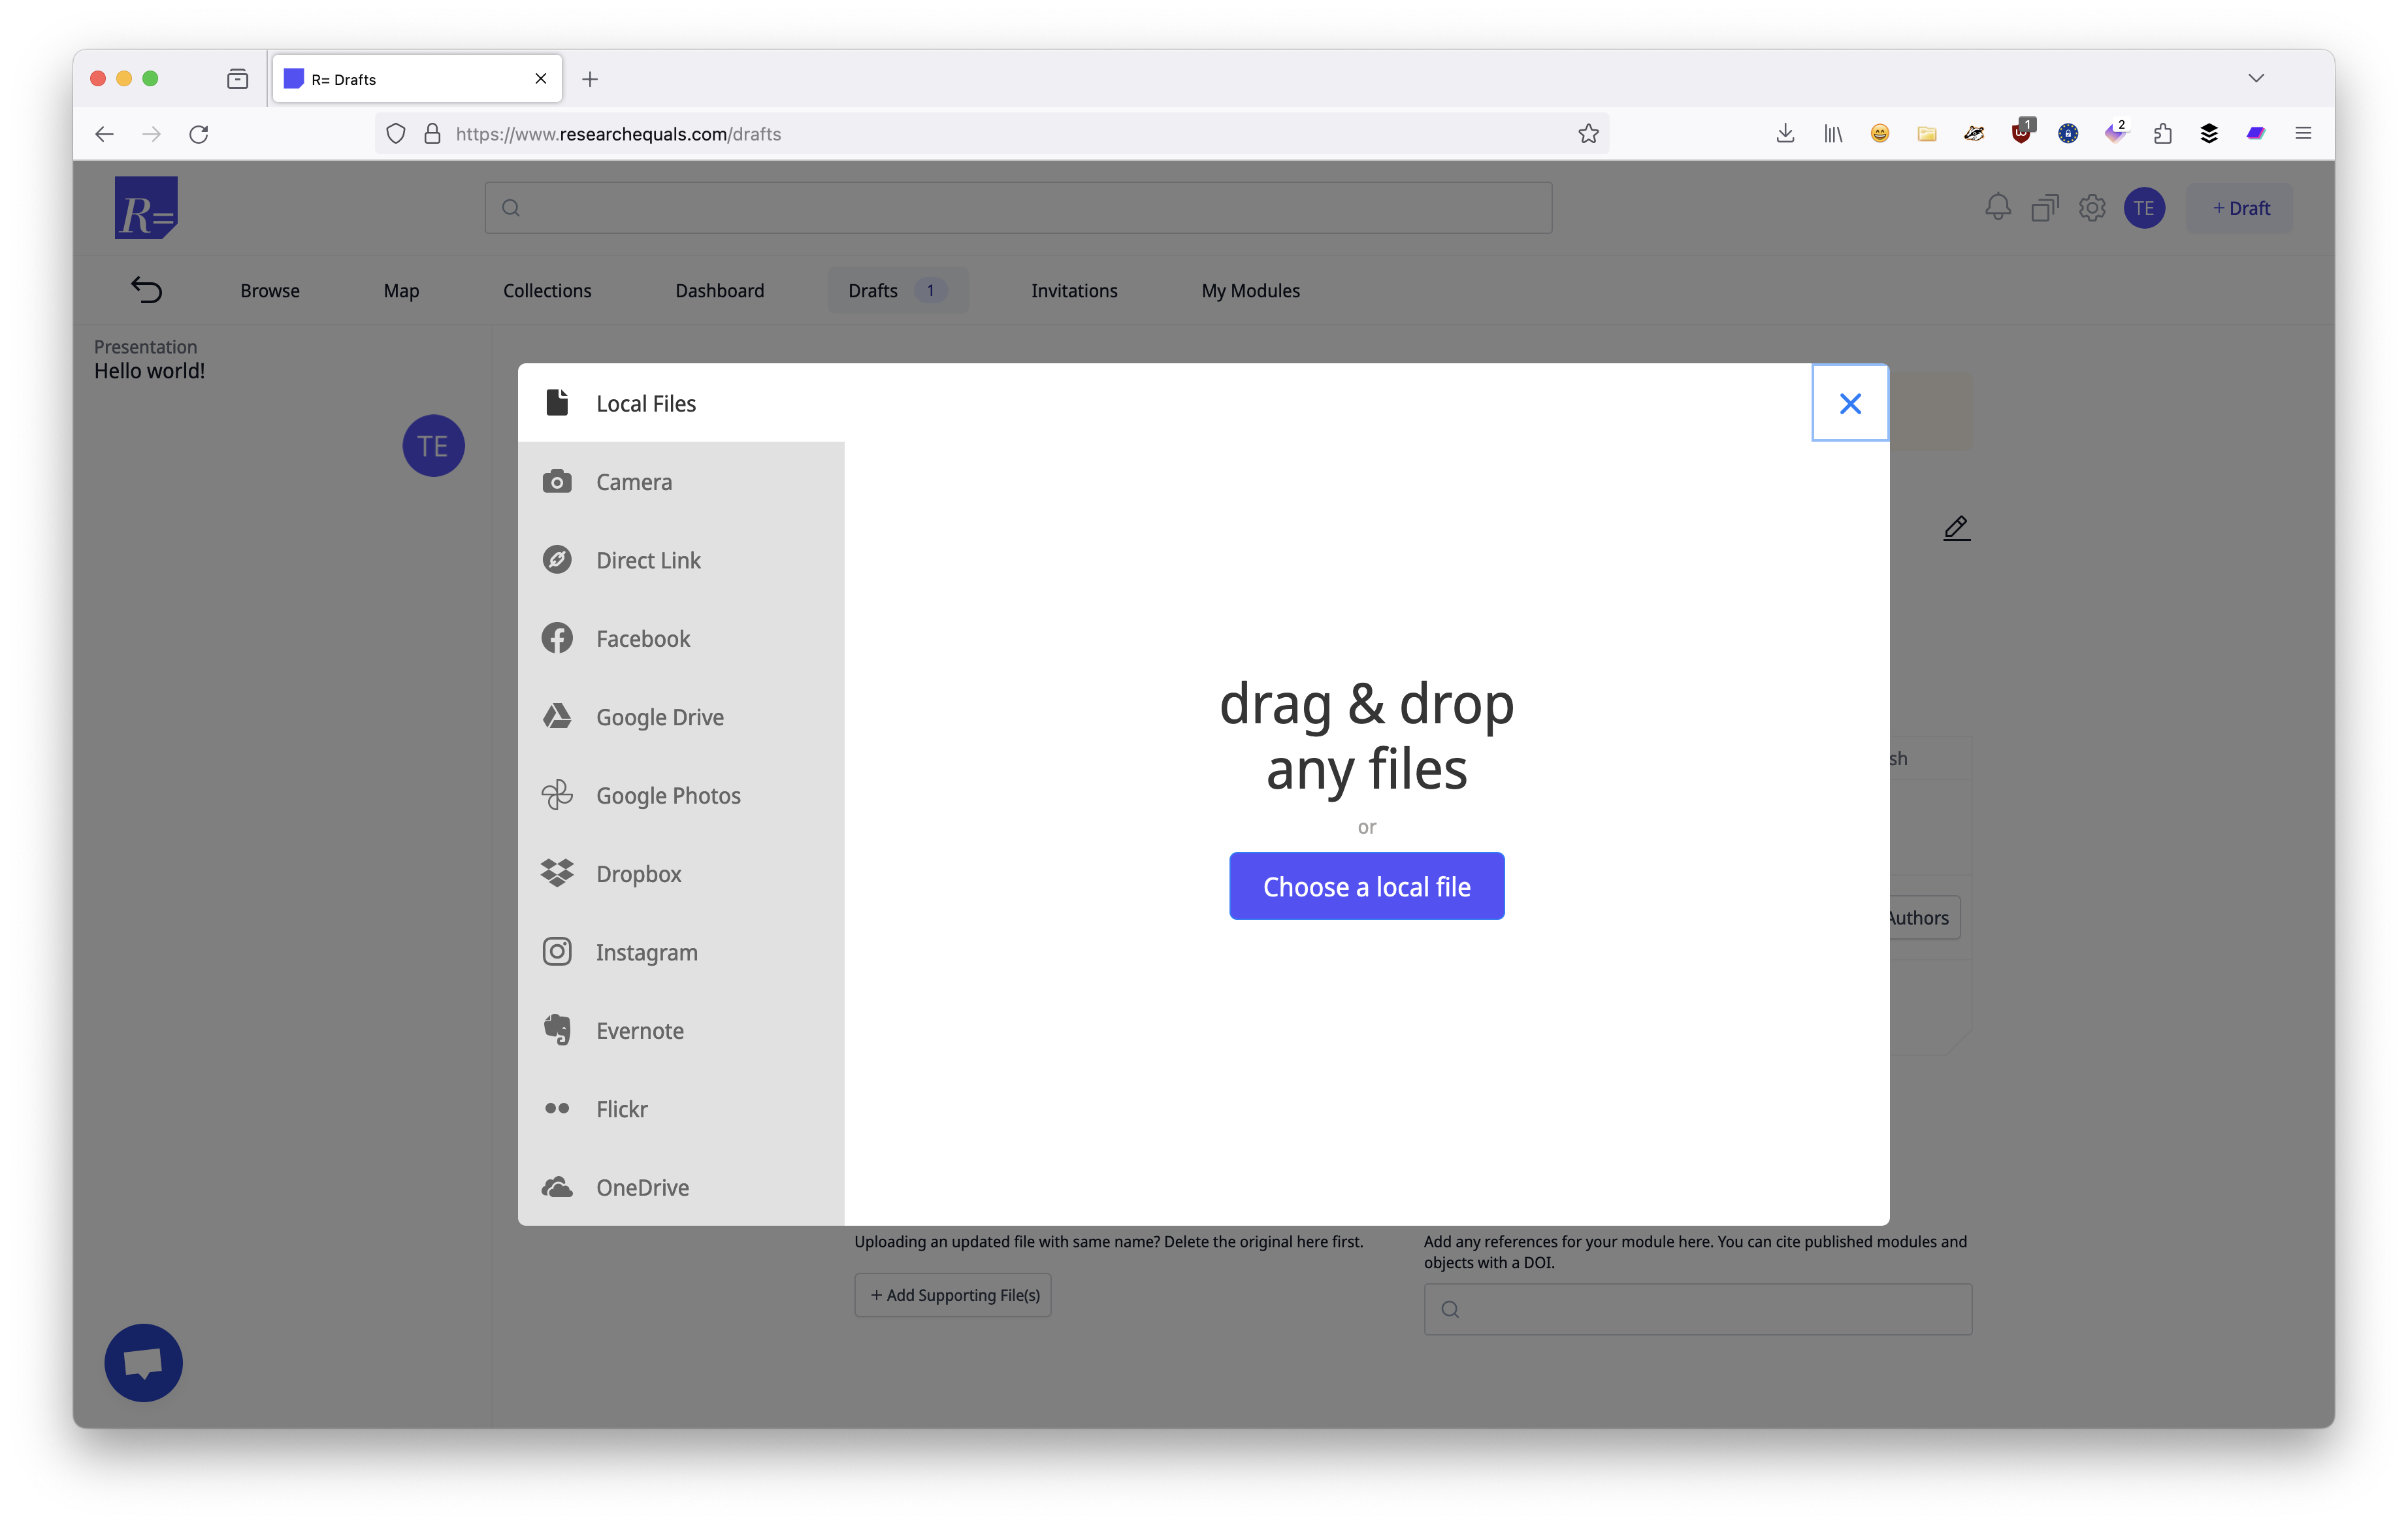
When you want to upload a file, you will be presented with options to upload your file from various locations.
ResearchEquals only supports open file formats to ensure that they are accessible and readable to as many people. If you want to be sure, check for your file extension in our supported list.
For some files, we support previews within the draft after uploading.
The best supported file format for writing is Markdown, which will allow you to render beautiful text, with headings, code blocks, and equations. Other file formats we support in previewing are Word files, Powerpoint files, and spreadsheets.
Publish your draft
If you followed the steps above, your draft will now fulfill all requirements to be published! You can check this at the top of your draft, where you will see the following green light once all requirements are completed.

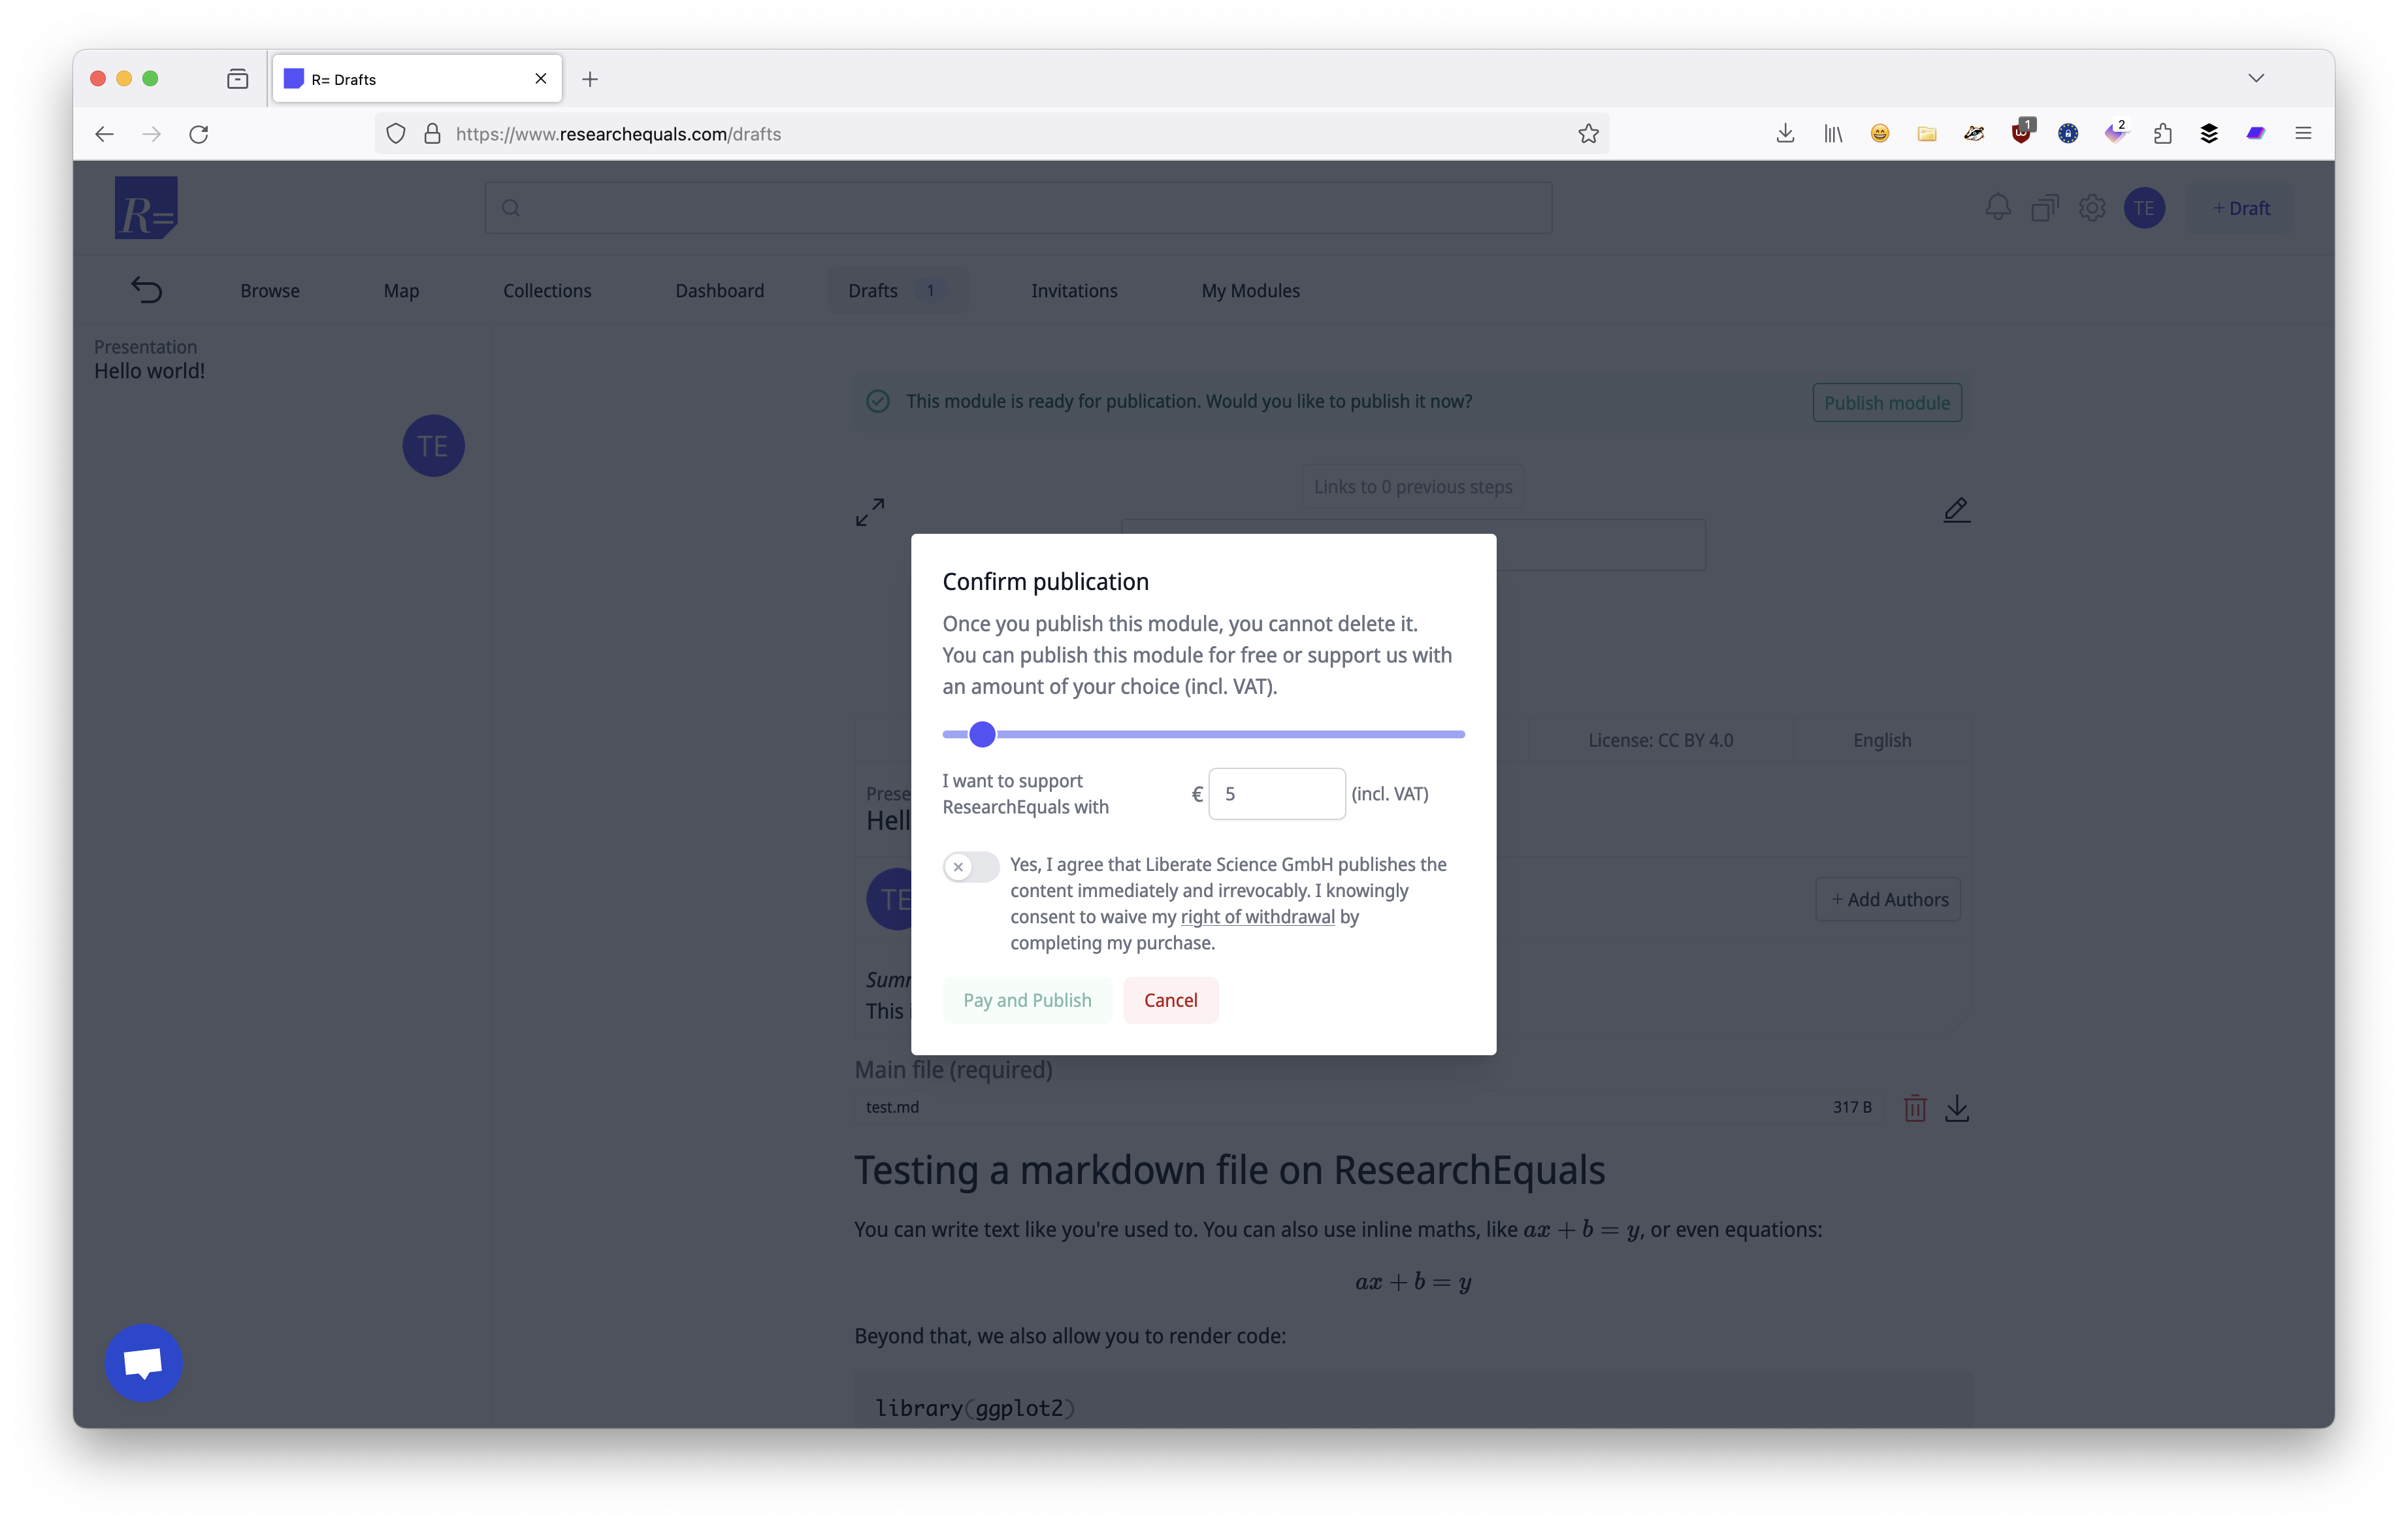
When you click “Publish” you will be asked to confirm. You get to select how much (if anything!) you would like to contribute to the project upon publishing. You can of course set this to zero.
If you click “Publish” in the pop-up, the module is irrevocably published and you will no longer be able to edit any part of the module. A DOI will be assigned and it will be part of the literature. Only do this if you are serious about publishing, not to test it out.
And that’s it - that’s how simple it can be to publish a module. What about more complicated situations? We will dive into that together as well - for now, you have seen some of the core bits to hit the ground running.